

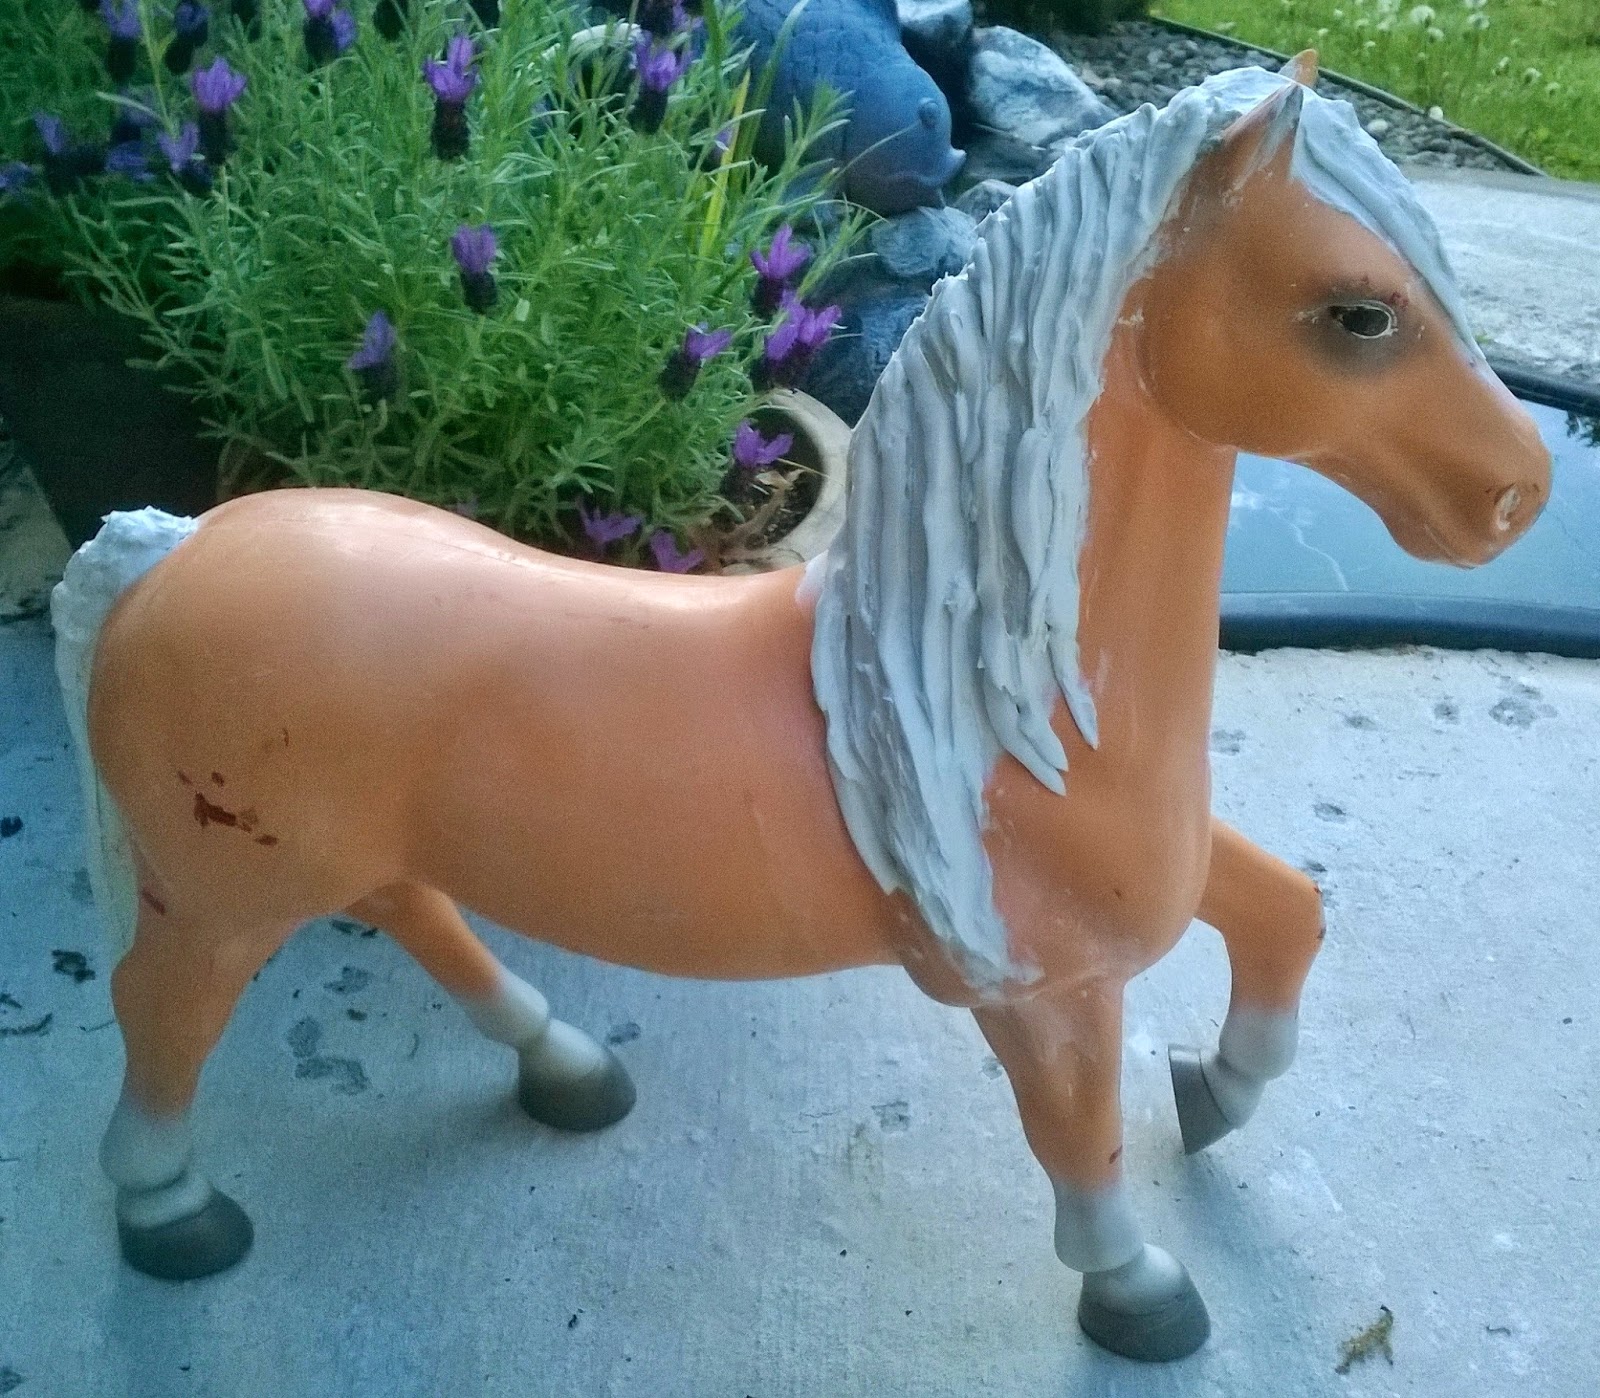
I saw this large toy horse at the thrift shop and instantly fell in love with it. I just had to get it and do something with it. The mane and tail were typically matted. Red nail polish and other stains decorated it.
 |
It's such a large horse, about 22" tall and long. Where to put it was how I came up with the idea... outside. |
 |
I thought of removing the nail polish and stains, but plastic can melt. Painting the horse was necessary. |
 |
There really is no salvaging matted synthetic successfully... |
 |
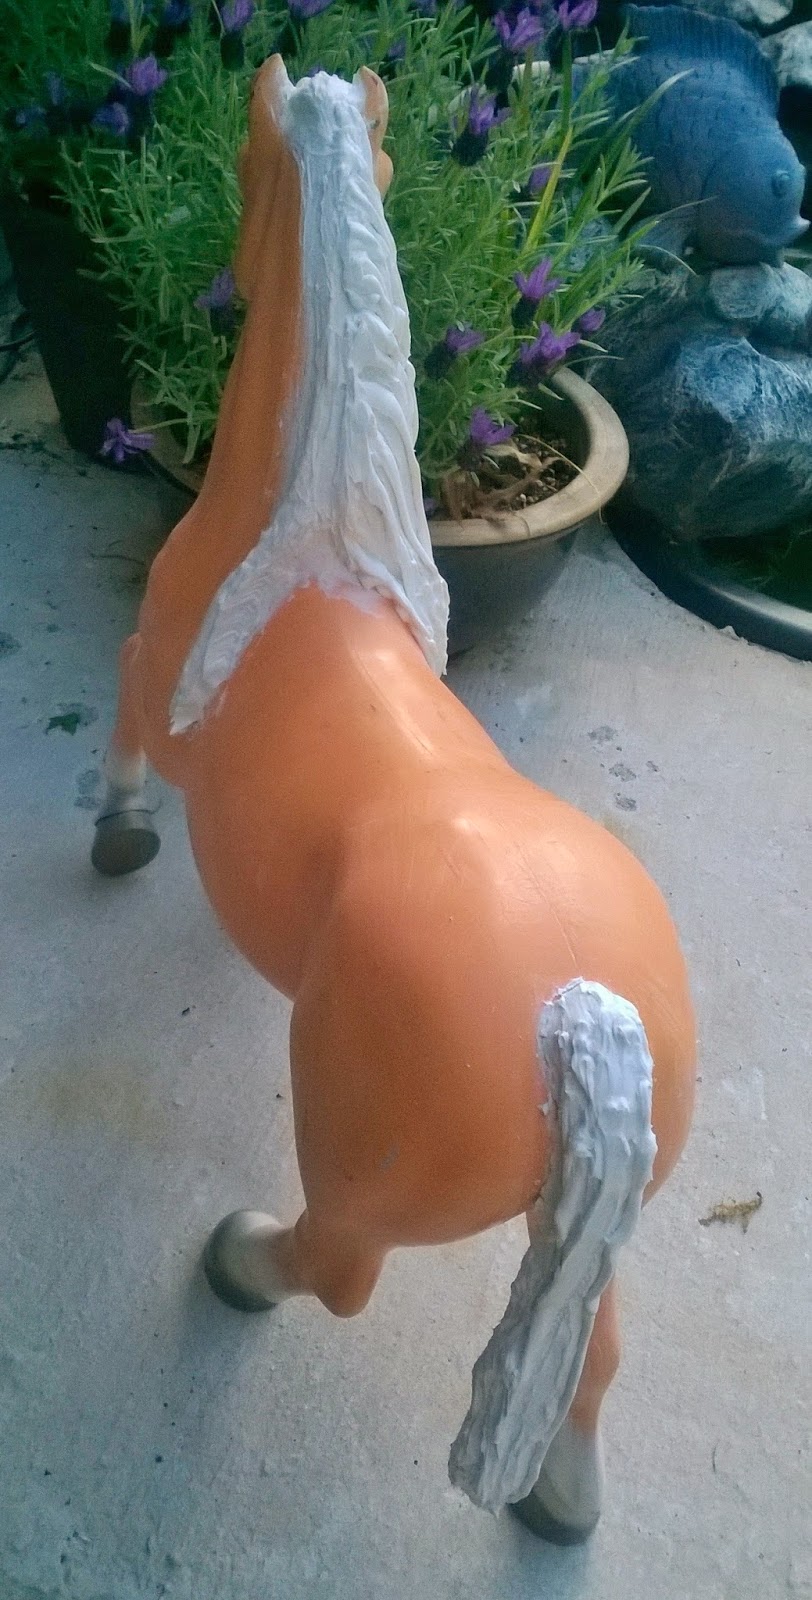
So I lathered it with plaster of paris. Mane and tail. I ran the substance completely through, squeezing and reapplying it. Then I formed the base where I wanted the mane to flow onto the body. |
 |
After allowing the plaster to dry, I applied indoor/outdoor caulk. Like decorating a cake, but with a caulk gun, I made a flowing mane and tail. |
 |
After placing the caulk where it appeared realistic ... or artistic :) I smoothed out some of the unnatural areas of blobs. |
 |
Then waited for it to dry. |
 |
And waited. |
 |
Until finally the next day, the caulk was dry. |
 |
I spray painted a base coat of Krylon, a plastic adhering paint, in espresso color. My constant plaster application and formation did scour the body a bit too, so the shiny finish of original paint dulled making paint adhere easily. |
 |
Lightly spraying and getting into all of the grooves and crevices. |
 |
Then a second coat a bit later. |
 |
Finally for the finishing up, I used indoor/outdoor Rust-Oleum Oil Rubbed Bronze paint for a cast iron look. (I was NOT a paid advertiser or affiliate for this product. It was a product choice of my own .) |
 |
Now the pretty thing looks like a bronze statue! |


 |
The toy horse is certainly a grown up now. "Thinking outside of the toy box" ;) |
 |
Who would have thought under this paint is a toy? |
 |

~~~~~~~~~~~~~~~~~~~~~~~~~~~~~~~~~~~~~~~~~~~~~~


.jpg)


~~~~~~~~~~~~~~~~~